Here’s an interesting job that I recently completed down in Penrith, a small market town just under three miles from the Lake District National Park.
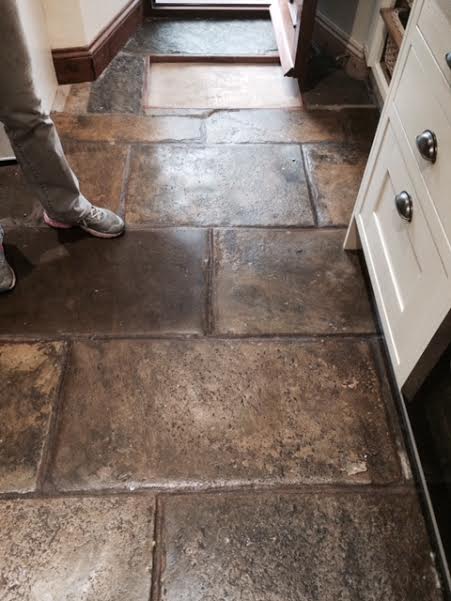
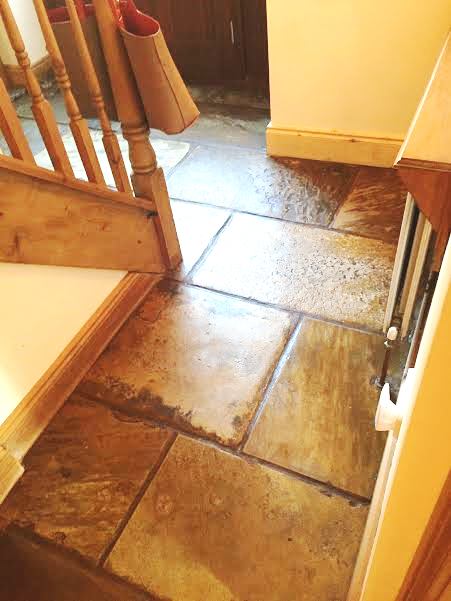
My client had a Sandstone tiled flagstone floor in her kitchen which had been continually sealed over its lifetime – but without removing the old sealer first. This is not advised, as it can lead to a severe problem where the layers of sealer become compacted on the surface. The result is a significant build-up of old sealer which is almost impossible to remove, even with some of the best and strongest products available.

This problem is particularly acute in Sandstone because, as a naturally porous stone, it has a high grab factor when it comes to polyurethane type wax sealers. As a result, it would take me a significant amount of work to reduce the problem as far as possible.
Milling Sandstone tiles
As no chemical products would prove effective in resolving the issue, I opted to use a milling technique using abrasive, coarse milling pads. The idea is that the milling pads penetrate beneath the many layers of old sealer and re-finish the stone. In order to validate the proposed solution I conducted an experiment in a test area under the dishwasher. The test proved satisfactory, and so my client was happy to extend the solution to the rest of the kitchen floor.

As you can see from the photos, the milling pads allowed me to get in deep where chemical products were simply unable to make a difference, giving the Sandstone tiles a much more refined look. As well as flattening a stone milling does strip a tile naked so it’s necessary to seal the stone after to enhance the natural colours and features as well as protect the stone going forward.
Cleaning and sealing Sandstone tiles
After spending all day milling the rest of the floor, it came time to give it a thorough clean to remove any remaining dirt and muck, especially along the grout lines. My choice of cleaner was Tile Doctor Pro-Clean, a high-alkaline cleaner which is used on most natural stone floors, including Sandstone, Granite, Limestone and Slate. The Pro-Clean was diluted with water and then scrubbed into the tile and grout.
After finishing the clean, I left for a few days as the floor needed at least 48 hours to dry completely before it could be sealed. Tiled floors must always be left to dry completely before being sealed because any excess moisture or residue can damage the performance of the sealer. When I returned, I applied three layers of Tile Doctor Colour Grow, an impregnating, colour intensifying sealer which is designed to provide durable surface protection from within, while also accentuating the natural shades and colours in the stone.

My client was very pleased with the results, and was amazed I was able to do anything to resolve the compacted sealer issue considering that the chemical products used previously were unsuccessful.
Source: Professional Tile, Stone and Grout cleaning services in North-Cumbria
Sealers do breakdown over time depending on wear and tear and what products are used to clean the floor so if you do want to keep your tile and grout looking its best talk to Tile Doctor to work out a maintenance program for your floor.